

Account Hierarchy
Organize your business in WorkMind, switch between accounts, and set up new locations and their administrators.
WorkMind supports single-location businesses, franchises, and corporations. Use one primary account for a single-location business, or add sub-accounts for multiple locations or operating units. You can expand the structure as your business grows.
Understand the Hierarchy
The organization groups its related accounts. In the account selector, the entry marked HQ is the organization account, used for organization-level administration in a franchise or corporate business.
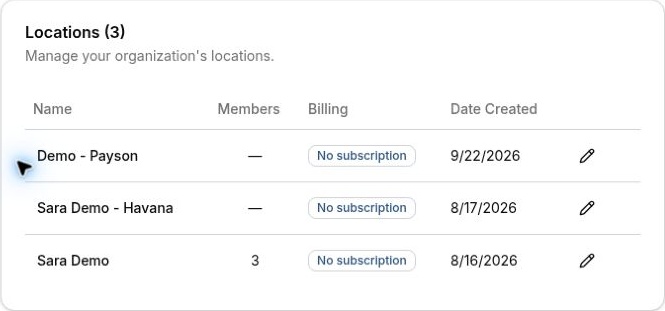
Sub-accounts belong to that organization and appear as locations in WorkMind. They can represent physical locations or separate operating units. In the example, Demo - Payson and Sara Demo - Havana are sub-accounts under Sara Demo, whose primary account is marked HQ.
Open Organization to review its Locations list. This list can include the primary HQ account as well as sub-accounts, so its total is not necessarily the number of additional sub-accounts. The example has three entries: one HQ account and two sub-accounts.
Switch Between Accounts
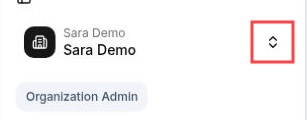
Click the highlighted dropdown arrows beside the account name near the top of the WorkMind sidebar to view the organizations and accounts you belong to. Accounts are grouped by organization. Find the organization you want to work in, then choose its HQ entry for organization-level work or a named location for that sub-account.
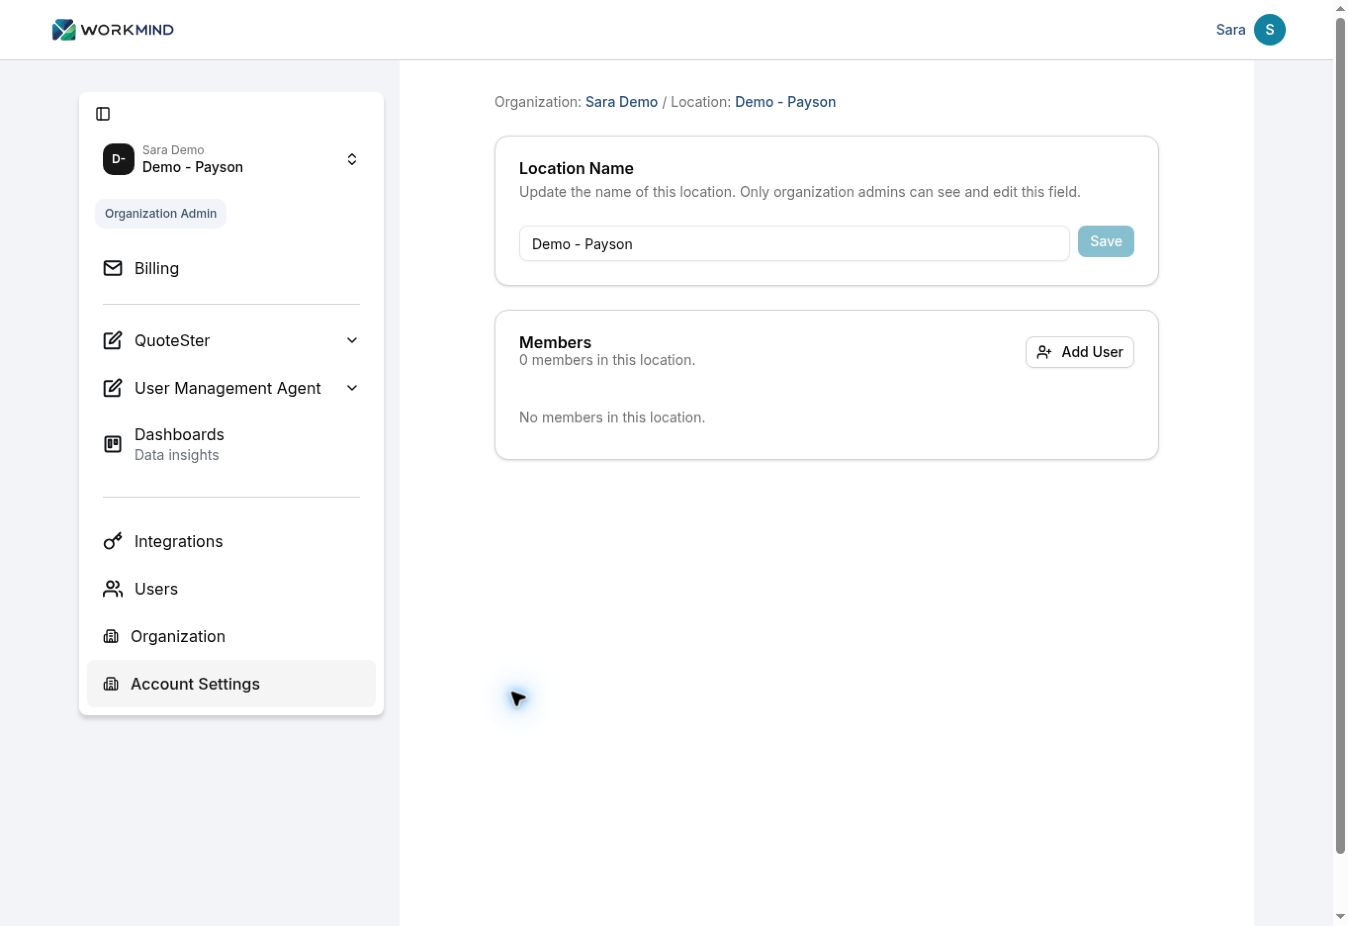
Check the selected account name in the sidebar. Open Account Settings and confirm the Organization and Location shown in the header. For example, Organization: Sara Demo / Location: Demo - Payson identifies the Payson sub-account.
Create a Sub-Account
You must be an Organization Admin for the organization to create a sub-account.
In the account selector, choose the entry marked HQ for the organization that should contain the new sub-account. Confirm that the organization account is selected.
Open the account selector again and choose New location at the bottom of the menu.

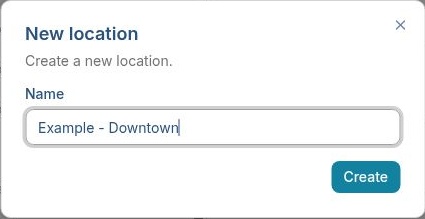
Enter a clear sub-account name in Name, such as Example - Downtown. Review the name and the organization you selected, then click Create.
Find the new account under the intended organization in the account selector and select it. Open Account Settings to confirm its Organization and Location header. You can also check the organization's Locations list.
Invite the Account Administrator
After creating a sub-account, we recommend inviting the person who will run it as your next step.
Select the new sub-account and open Account Settings. Confirm the Organization / Location header before adding anyone.
In Members, click Add User and enter the person's email address in Email.
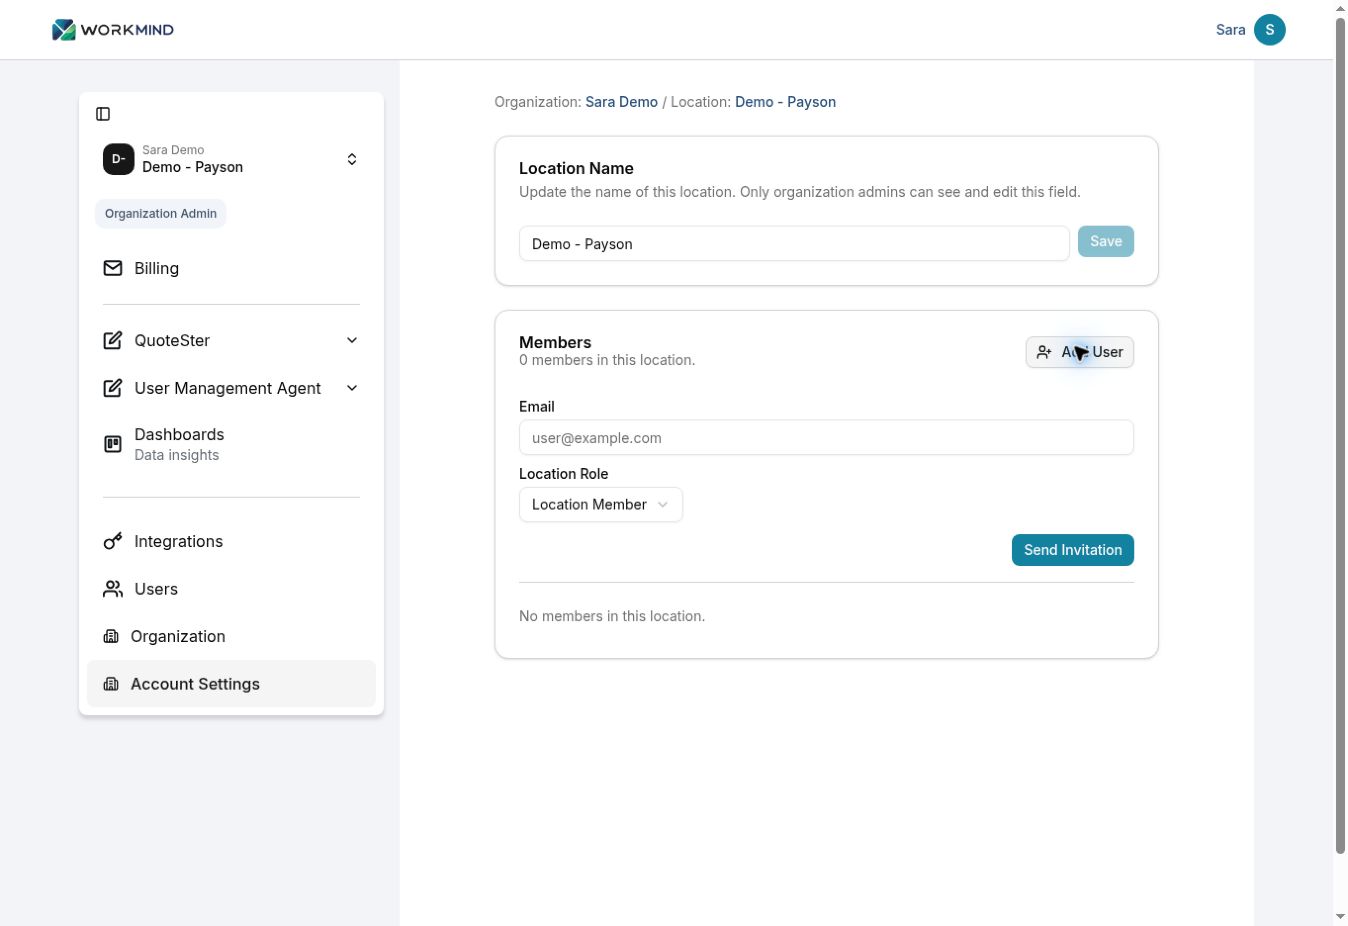
Open Location Role and choose the appropriate role. For the person running the account, such as a new franchisee, we recommend Location Admin, the administrator role for the sub-account.
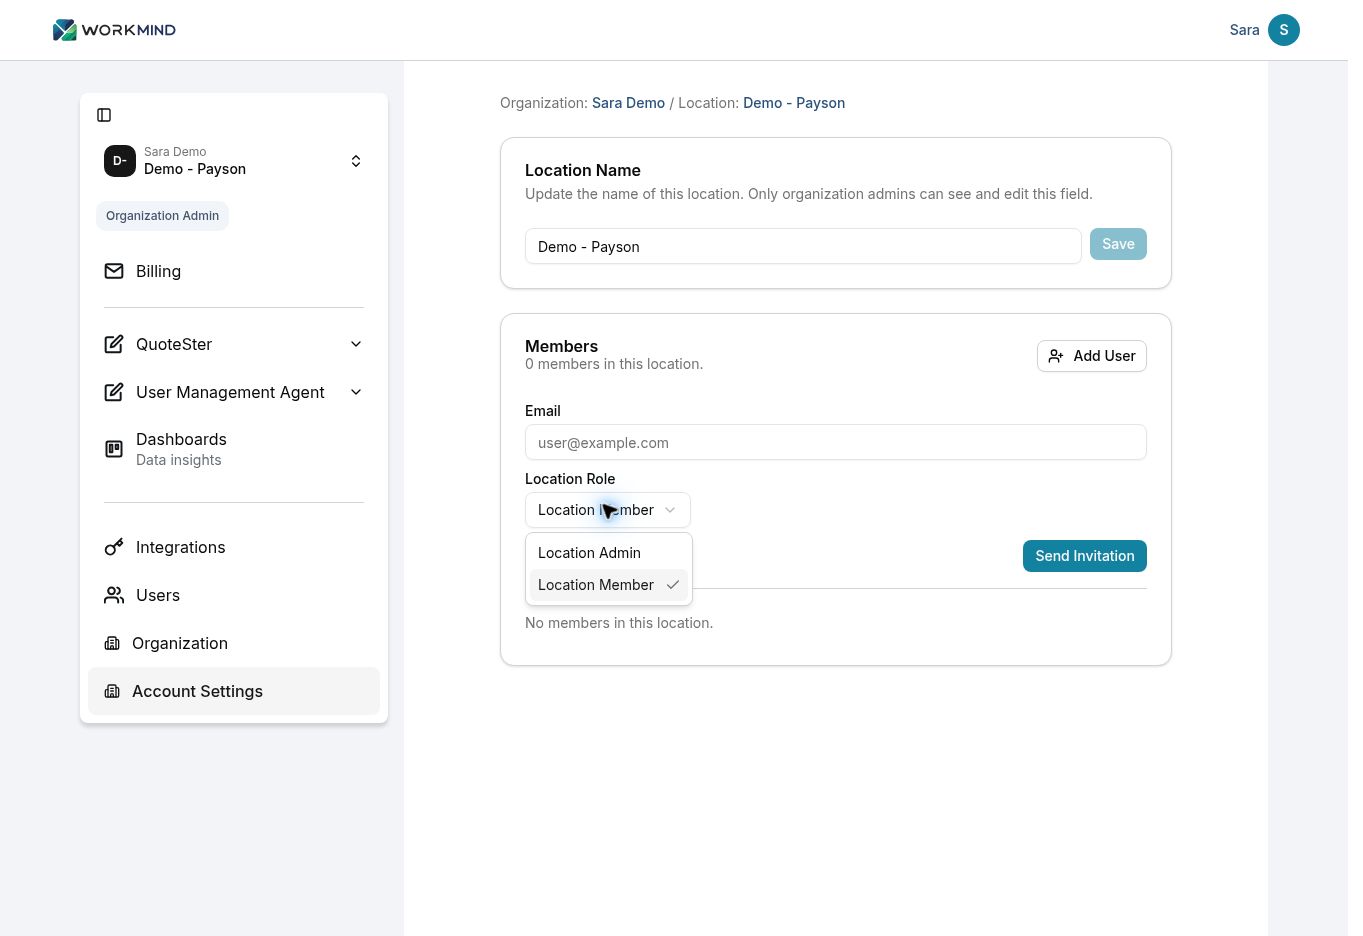
Review the email address and selected role, then click Send Invitation.
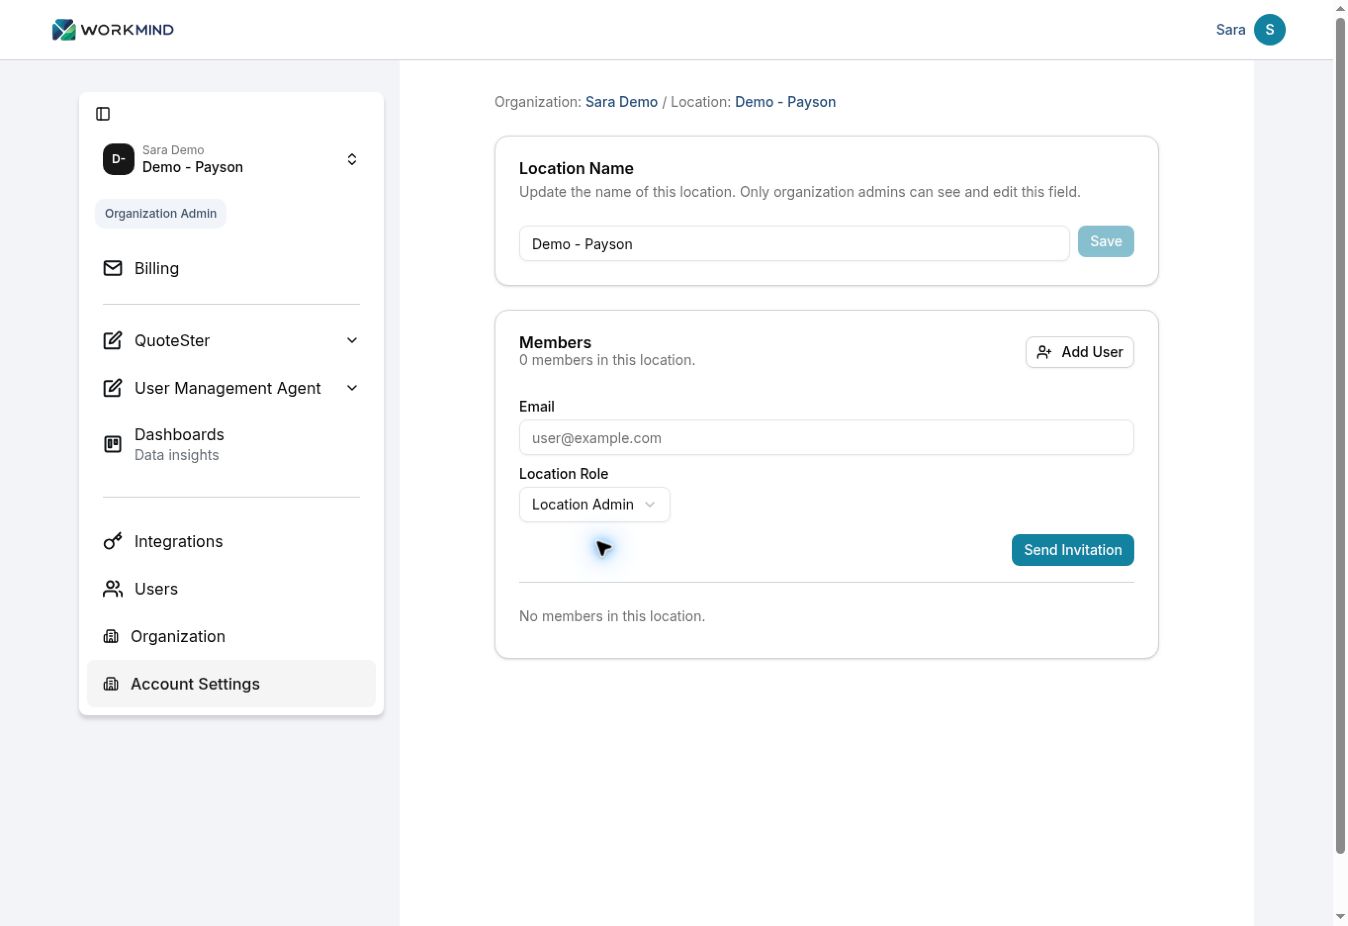
Review the account’s Members section as part of setup. Only organization admins can see and edit Location Name. Before the team starts using the account, review its subscriptions, integrations, and product configuration too.
Review Subscription Coverage
Account hierarchy identifies where the work belongs; subscription coverage identifies which accounts the payer will cover. Corporate can pay for all locations, selected pilot locations, or only its primary account. A franchise owner with multiple sub-accounts can select additional locations when arranging subscriptions.
See Billing for coverage options, unit counts, billing periods, and checkout instructions.